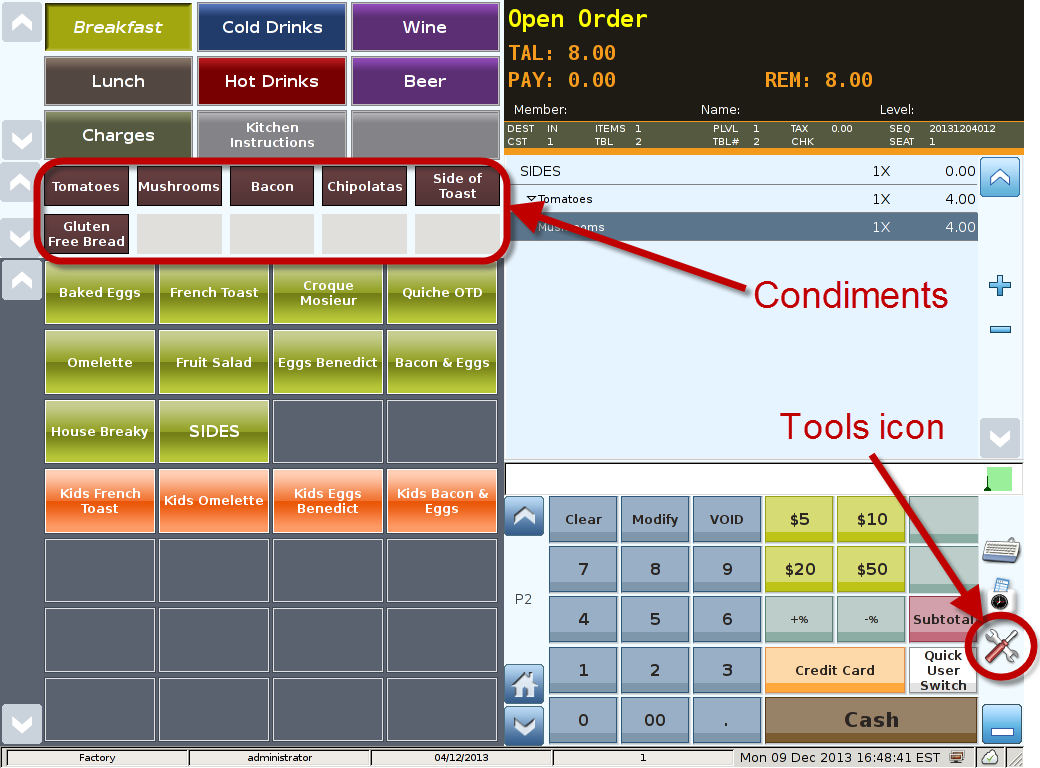
Main Screen
Control Panel
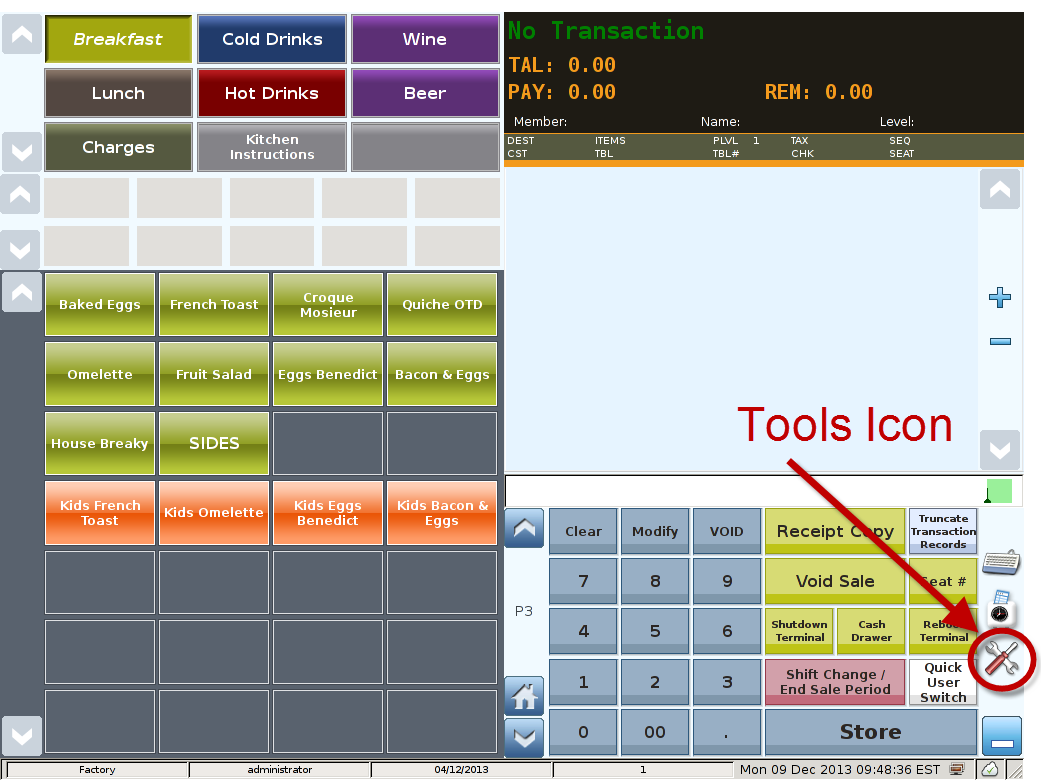


Select 'Tools' icon
to enter the Control Panel

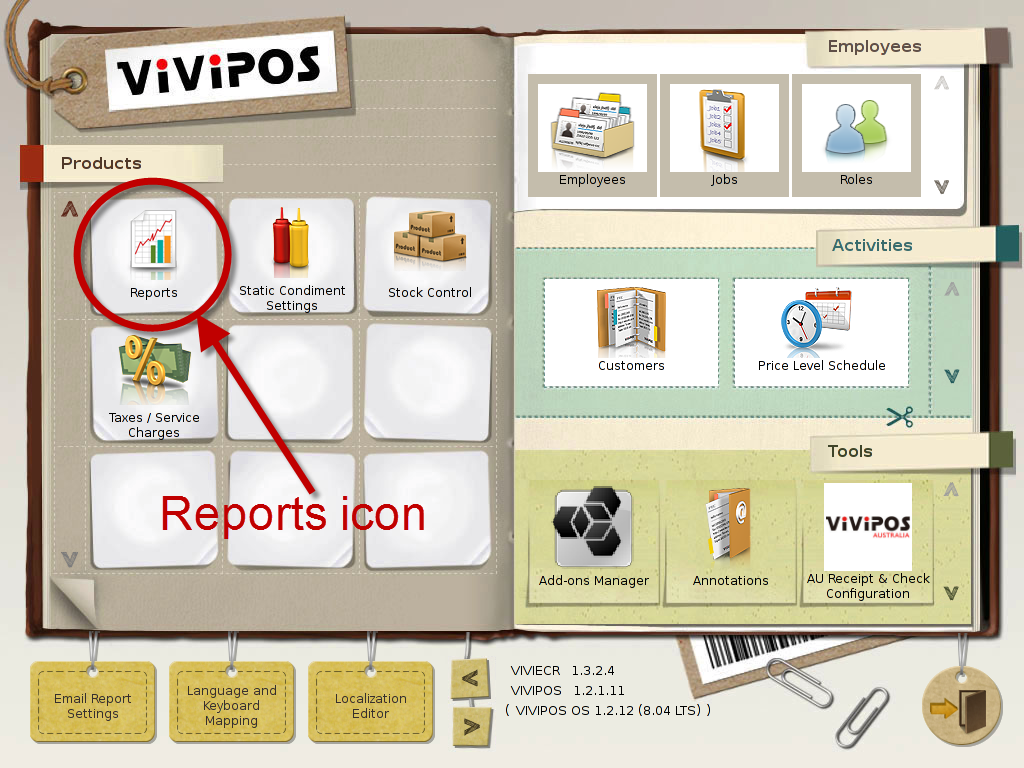
Select the 'Static Condiment SettingsReports' icon
to enter the Static Condiment Settings Reports Area
Static Condiment Settings
Reports Area
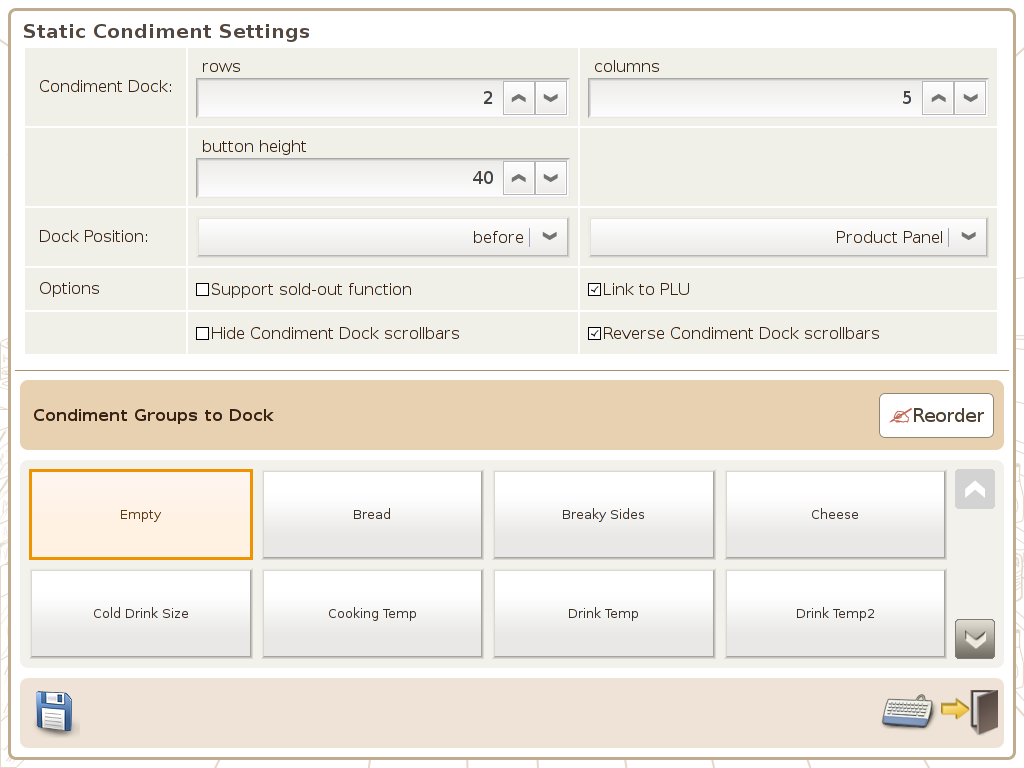
This screen allows you to configure the presentation and layout of condiments in the POS front end. (Note to not display condiments when none attached to product being sold, 1st set up an 'Empty' Condiment group in the condiment module then select it as the only group to dock as shown above)
Condiment Dock:
- rows: You can set the number of rows to be displayed in the condiment dock.
- columns: You can set the number of column to be display in the condiment dock.
- button height: The minimum height is 40 pixel, and you can adjust this setting to best fit your criteria.
Dock Position: You can set the display of the condiment dock to be before or after the Department Panel, Product Panel, Status Display Panel, Shopping Cart Panel, Input Row or Function Panel.
Support sold-out function: Condiment Dock functionality can support the sold-out function.
Link to PLU: If this option is enabled, it will automatically show the condiments in the condiment group that the product is link to.
Hide Condiment Dock scrollbars: This enable you to set weather the scroll bar for condiment group is shown.
Reverse Condiment Dock scrollbars: This option set where the scroll bar arrows are displayed. e.g.display on the right or left.
Condiment Groups to Dock: This option is used to configure what will always be shown in the condiment dock in the POS front end.
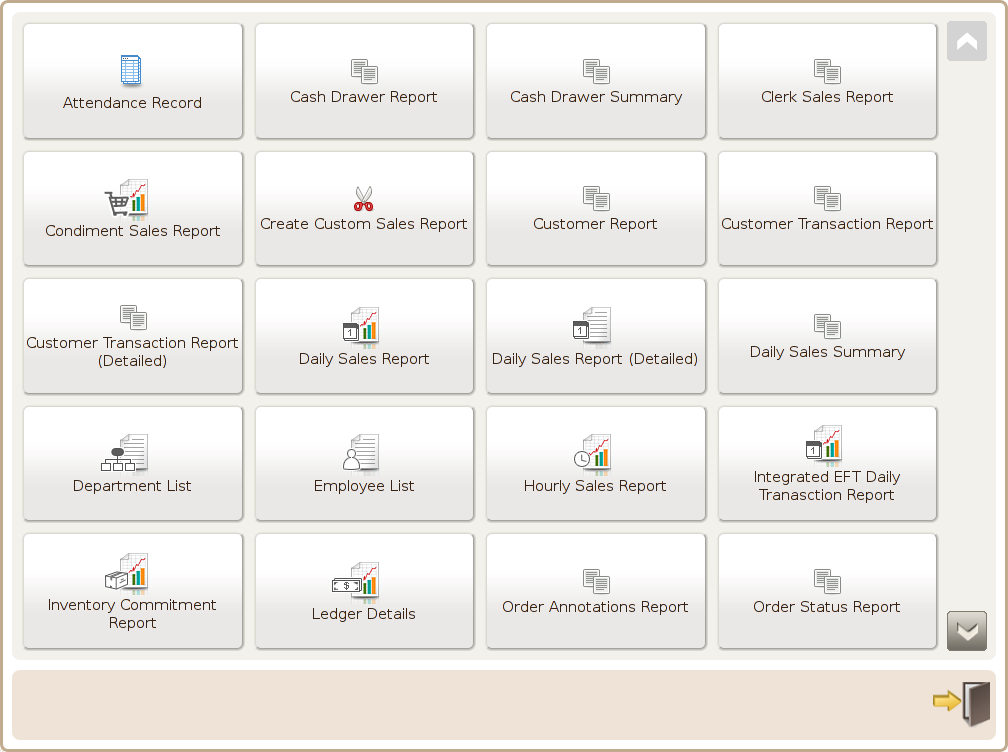
Page 1
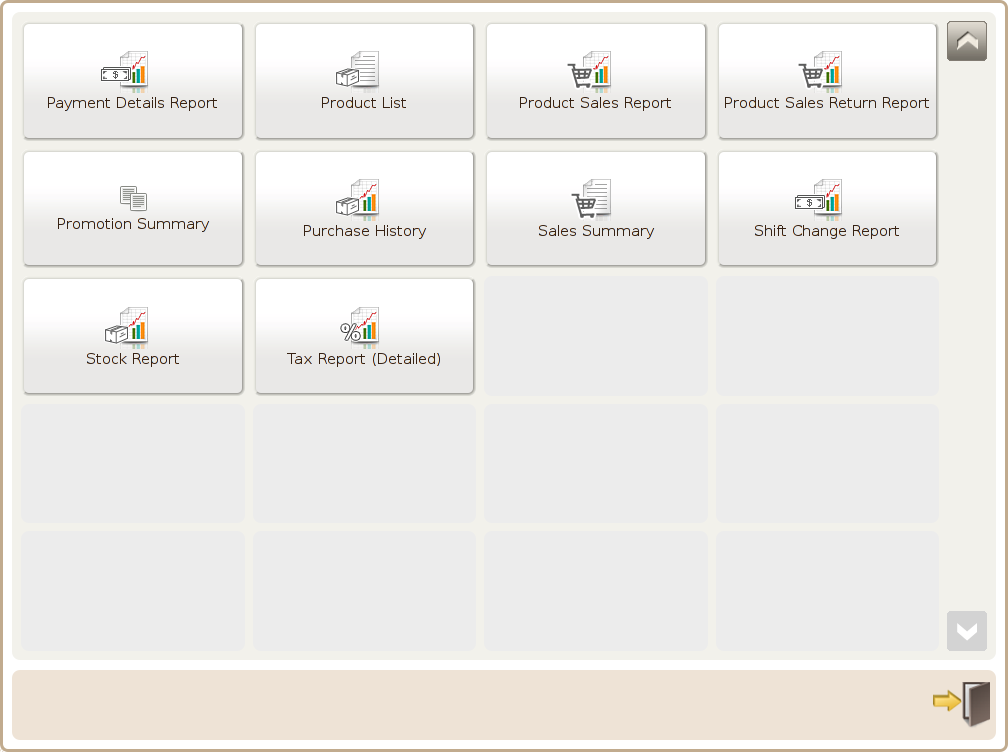
Page 2

Press the Execute button to generate the report to screen

Press the Email button to send reports to the email setup in the Email Report Settings module

PDF export: Can export the report as a PDF file. The file is store at the root directory of a USB data key such as <USB Datakey> \report_export\<Branch ID>\<Terminal ID>\rpt_attendance +<YearMonthDayHourMinute.pdf>

CSV export: Can export the report as CSV file. The file is store at the root directory of a USB data key such as <USB Datakey> \report_export\<Branch ID>\<Terminal ID>\rpt_attendance +<YearMonthDayHourMinute.pdf>

Print using report printer: Can print the report via the receipt and check printer connected
via the Devices setting.

Print using network printer: Can print the report via the printers configure in the CUPS
setting.
 Hide screen: Click this button to hide the screen search criterias.
 Scroll Icon: Use to scroll the page up and down.