Smartpay Integration Addon Installation & Configuration Guide
Introduction
The ViViPOS Payment Integration Addon enables your ViViPOS with a variety of integrated EFT payment solutions.
What You Need
- VIVIECR version 1.3.2.3 or later
- VIVIPOS version 1.2.1.11 or later
- VIVIPOS WebApp and WebServices version 1.3.5.0 or later
- Internet connection
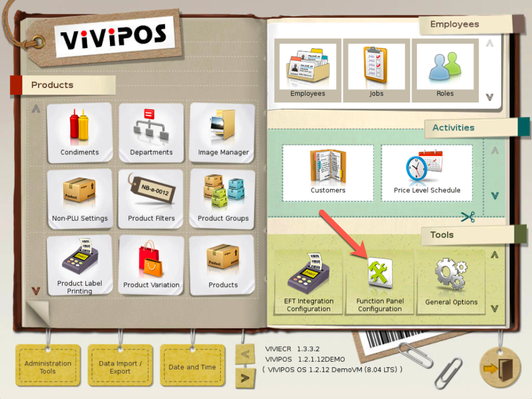
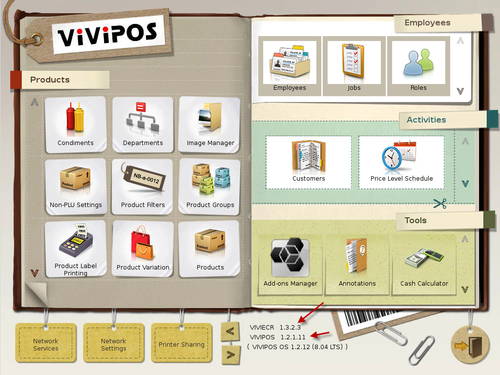
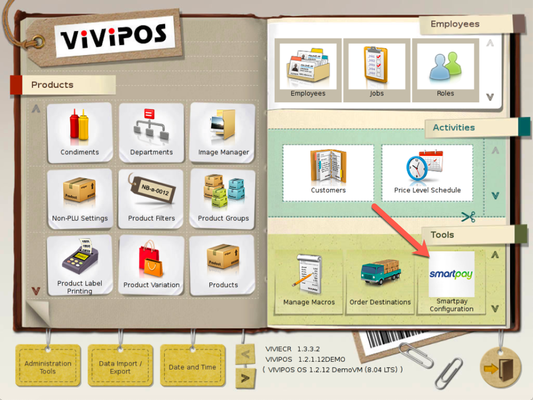
To find out about the VIVIECR and VIVIPOS version, go to Control Panel and look for the version numbers near the bottom of the screen as show in the screenshot.
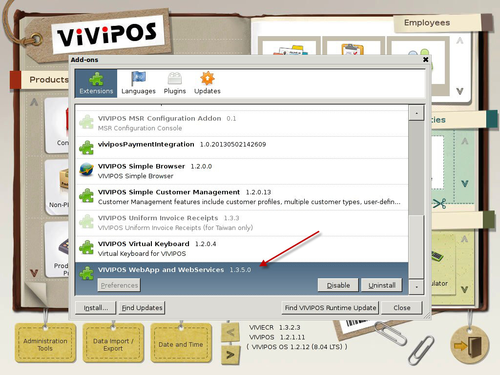
To find out the version of the VIVIPOS WebApp and WebServices Addon, go to Add-ons Manager within the Control Panel.
Installation and Configuration
Installing the ViViPOS Payment Integration Addon involves the following steps:
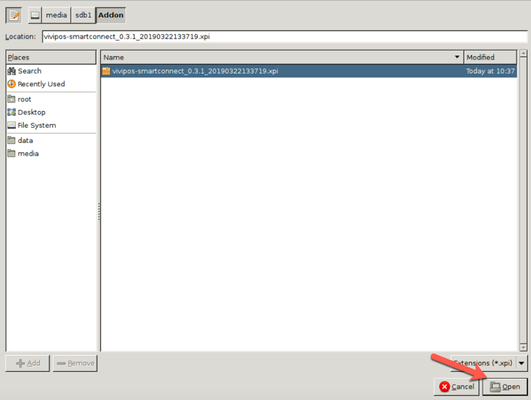
- Download the ViViPOS Payment Integration Addon XPI file, and save it onto a USB flash drive.
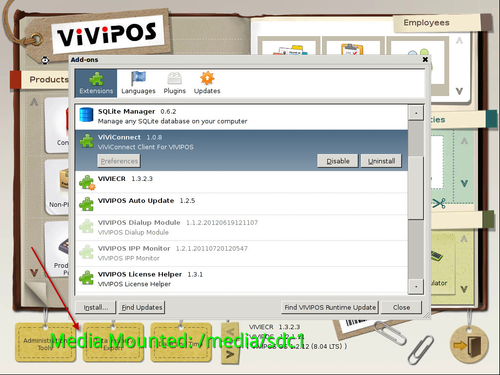
- Plug the USB flash drive to the ViViPOS. It will take about 10 to 15 seconds before it gets detected, there will be a green On-Screen Display text showing the path where the flash drive is mounted.
.
- Locate the Addon XPI file by selecting media on the left panel and then select the XPI by clicking on the file name. After the selection, click "Open" to install.
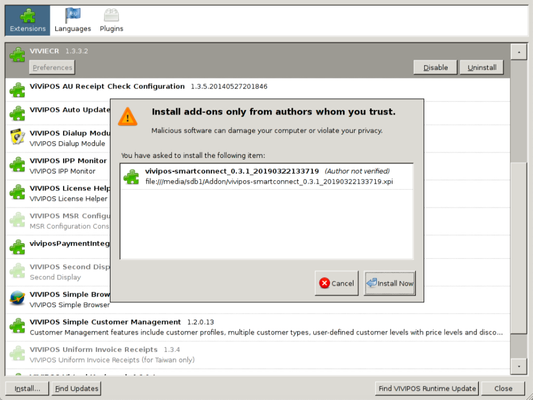
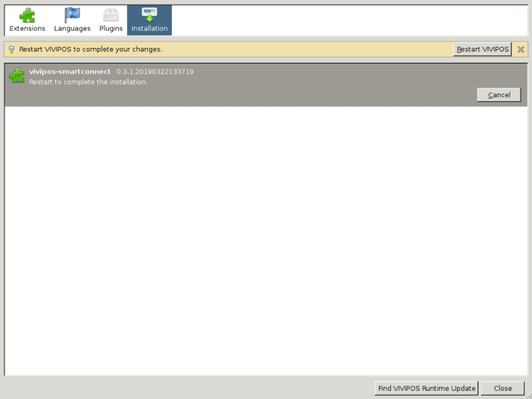
- Follow the on screen instructions to install the addon, and click Restart VIVIPOS. Now exit back to the Main screen, and wait for the ViViPOS software to restart.
- After restart, go back to Control Panel, and assign the roles for the users required. For the Pairing and Configuration of SmartPay, you will require the role Smart Connect Configuration. For initiating a SmartPay transaction, you will require the role Smart Connect Transaction.
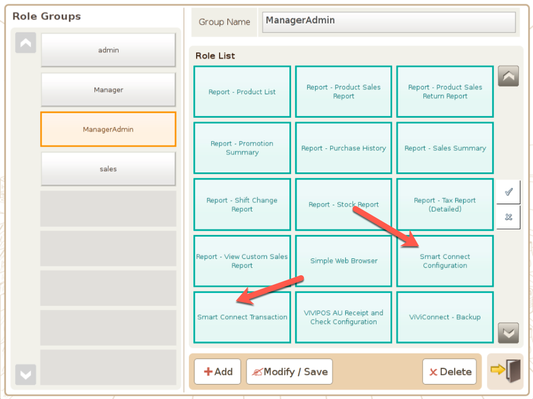
- You should now be able to see the Smartpay Configuration icon under Tools when logged in with an authorised user. If you do not see it, please verify the correct Role have been assigned for the user's Role Group.
- Map a function key linked to the function SmartConnect Transaction for the user to perform a SmartPay Transaction.